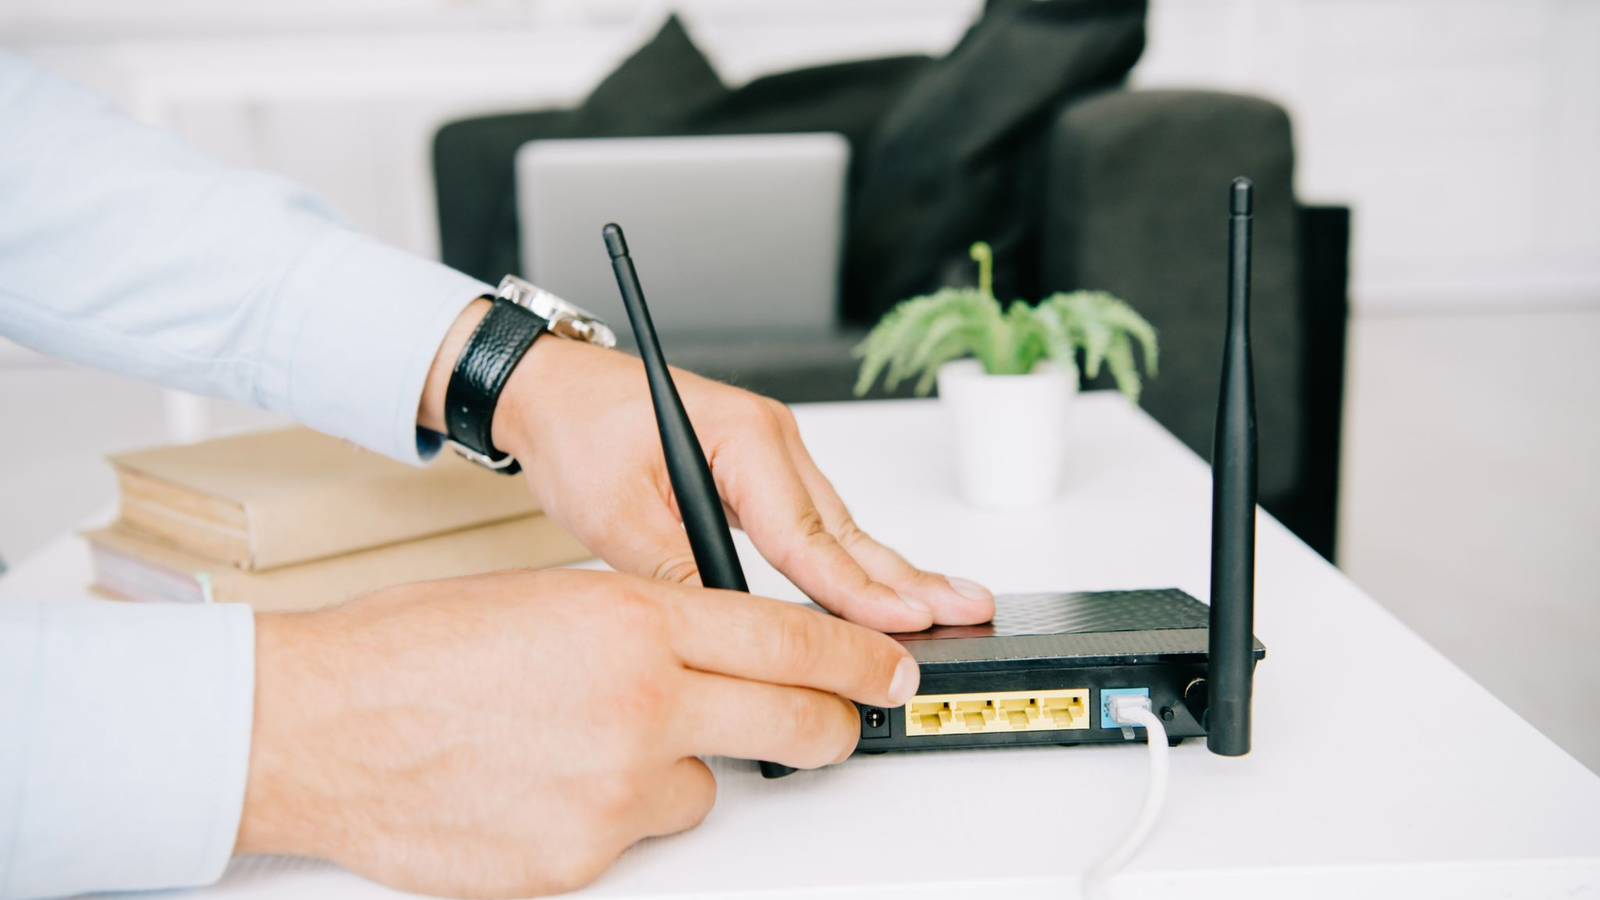
Configuring a Customer Premises Equipment (CPE) router is a crucial task for network administrators, IT professionals, and even tech-savvy users looking to optimize their network setup. Whether you’re deploying a new CPE router or reconfiguring an existing one, this step-by-step guide will walk you through the entire process—ensuring a smooth, secure, and high-performance network connection.
By the end of this guide, you’ll have a fully functional CPE router with optimized settings for reliability, security, and speed. Let’s dive in!
Why Proper CPE Router Configuration Matters
Before jumping into the configuration steps, it’s essential to understand why proper setup is critical:
✔ Network Performance – A well-configured router ensures optimal bandwidth distribution and minimizes latency.
✔ Security – Default settings often leave networks vulnerable; proper configuration closes security gaps.
✔ Stability – Correct settings prevent frequent disconnections and slowdowns.
✔ Remote Management – Enables IT teams to troubleshoot and manage networks efficiently.
Now, let’s get into the step-by-step configuration process.
Step 1: Gather Necessary Information
Before accessing your CPE router, ensure you have:
- Default IP address (e.g.,
192.168.1.1or192.168.0.1) - Admin username and password (usually found on the router label or manual)
- ISP credentials (PPPoE username/password, VLAN ID, or static IP if applicable)
- A computer connected via Ethernet (recommended for initial setup)
Step 2: Access the Router’s Admin Panel
- Connect to the router via Ethernet or Wi-Fi.
- Open a web browser and enter the default gateway IP (e.g.,
http://192.168.1.1). - Log in using the default credentials (check the router label).
- Change the default password immediately for security.
Pro Tip: Bookmark the admin page for easy access later.
Step 3: Configure Internet/WAN Settings
The WAN (Wide Area Network) settings determine how your router connects to the internet. Here’s how to set it up:
A. For PPPoE Connections (Common with DSL/FTTH ISPs)
- Navigate to WAN Settings > PPPoE.
- Enter the ISP-provided username and password.
- Set MTU to
1492(or as specified by your ISP). - Enable Keep Alive for a stable connection.
B. For Static IP (Dedicated Business Connections)
- Select Static IP in WAN settings.
- Enter the IP address, subnet mask, gateway, and DNS provided by your ISP.
C. For DHCP (Automatic IP Assignment)
- Choose DHCP if your ISP automatically assigns an IP.
- Ensure VLAN tagging is configured if required.
Note: Some ISPs use VLAN tagging (e.g., VLAN ID 100 for internet). Check with your provider.
Step 4: Set Up Wi-Fi (SSID & Security)
A poorly configured Wi-Fi network can lead to slow speeds, interference, or unauthorized access. Follow these steps:
- Go to Wireless Settings > Basic Settings.
- Change the default SSID to a unique name (avoid personal details).
- Select the best Wi-Fi band:
- 2.4GHz – Better range, but slower speeds (best for IoT devices).
- 5GHz – Faster speeds, shorter range (ideal for streaming/gaming).
- Enable WPA3 encryption (or WPA2 if WPA3 isn’t available).
- Set a strong Wi-Fi password (12+ characters, mix of letters, numbers, symbols).
Pro Tip: Disable WPS (Wi-Fi Protected Setup)—it’s a security risk.
Step 5: Configure LAN & DHCP Settings
The Local Area Network (LAN) settings control how devices inside your network communicate.
- Navigate to LAN Settings.
- Change the default LAN IP (e.g.,
192.168.2.1) to avoid conflicts with other routers. - Enable DHCP Server to automatically assign IPs to devices.
- Set a DHCP range (e.g.,
192.168.2.100to192.168.2.200).
Note: For advanced setups, reserve IPs for critical devices (printers, servers).
Step 6: Enable Firewall & Security Features
A firewall protects your network from cyber threats. Configure these settings:
- Go to Security/Firewall Settings.
- Enable SPI (Stateful Packet Inspection) to monitor traffic.
- Disable remote management (unless needed).
- Enable DoS protection to block flood attacks.
- Set up MAC filtering (optional) to restrict unknown devices.
Step 7: Quality of Service (QoS) for Bandwidth Management
If multiple users share the network, QoS ensures critical applications (Zoom, VoIP, gaming) get priority.
- Navigate to QoS Settings.
- Enable QoS and set bandwidth limits.
- Prioritize traffic (e.g., Video Conferencing > Streaming > Downloads).
Step 8: Firmware Updates & Backup
- Check for firmware updates under Administration > Firmware.
- Back up your configuration (look for “Backup Settings” or “Export Config”).
Pro Tip: Schedule monthly firmware checks for security patches.
Step 9: Test & Troubleshoot
After configuration:
✅ Test internet speed (Speedtest.net).
✅ Check connected devices in the admin panel.
✅ Reboot the router to apply all changes.
If issues persist:
- Verify ISP credentials.
- Check cable connections.
- Reset and reconfigure if necessary.
Final Thoughts
Configuring a CPE router may seem complex, but following this structured guide ensures a secure, high-performance network. Whether for business or home use, proper setup prevents downtime, enhances security, and optimizes speed.
Need further help? Consult your ISP or a network specialist for advanced configurations like VPN, VLANs, or multi-WAN setups.